How to Grow Mint Indoors: Complete Guide
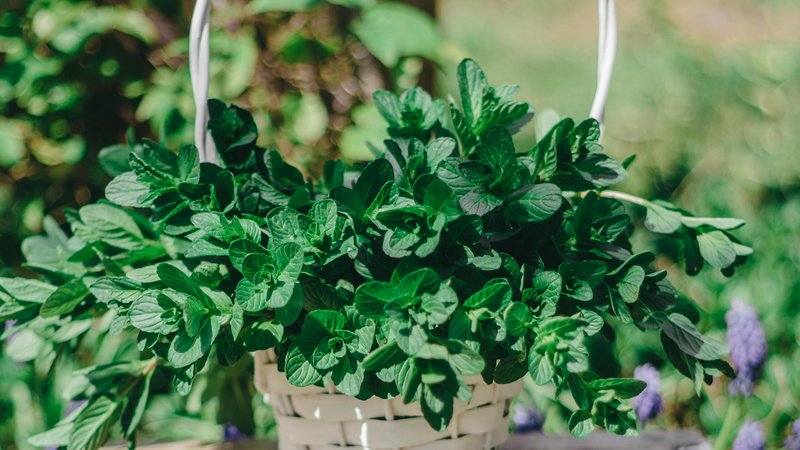
If you’ve ever wanted a steady supply of fresh herbs right in your kitchen, learning how to grow mint indoors is one of the most rewarding places to start. Mint is resilient, fast-growing, and surprisingly forgiving, making it an ideal choice for beginners and seasoned gardeners alike. Whether you have a sunny windowsill or a dedicated grow-light setup, mint will adapt and thrive with minimal fuss.
This guide walks you through every stage of indoor mint growing — from choosing the right variety and container to troubleshooting common problems like pests and powdery mildew. You’ll also find practical tips on propagation, harvesting, and keeping your plants productive through every season. By the end, you’ll have everything you need to grow mint confidently and consistently indoors.
1. Understanding Mint Varieties for Indoor Growing
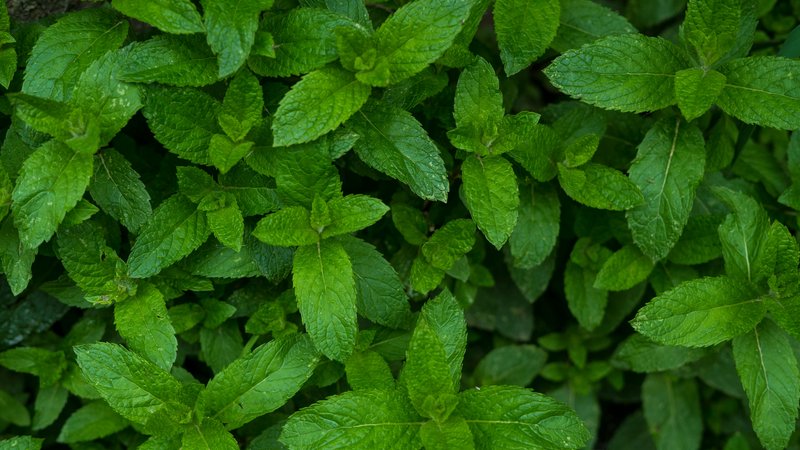
Not all mint varieties behave the same way indoors, so picking the right one matters. Spearmint and peppermint are the most popular choices because they stay compact and handle lower light levels reasonably well.
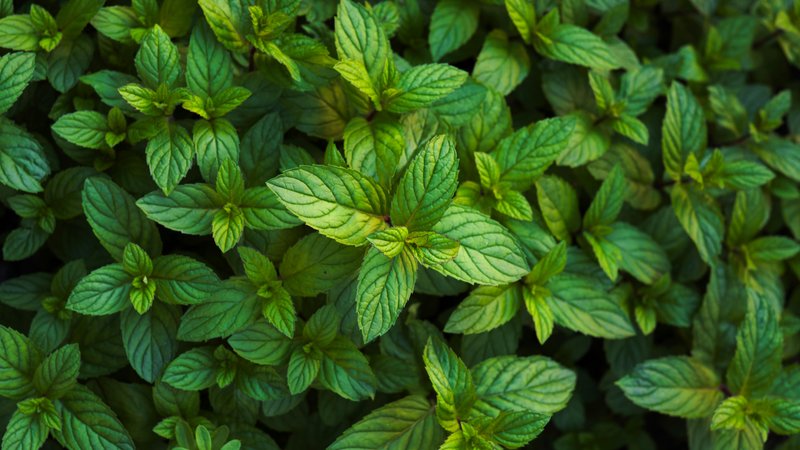
Chocolate mint and apple mint are excellent alternatives if you want a more aromatic or novelty variety. Corsican mint stays very low-growing and suits small containers perfectly.
Spearmint is generally the easiest variety for indoor beginners because it tolerates inconsistent watering better than most. If you’re just starting out, it’s the safest bet before experimenting with other types.
2. Light Requirements and Grow Light Solutions
Mint needs at least four to six hours of bright, indirect light each day to grow well indoors. A south- or east-facing windowsill is ideal for natural light setups.
When natural light is insufficient, a full-spectrum LED grow light placed six to twelve inches above the plant works extremely well. Aim for 14 to 16 hours of artificial light per day to replicate outdoor growing conditions.
AeroGarden seed kits include built-in grow lights calibrated for herbs like mint, making them a convenient all-in-one solution. They’re especially useful in apartments or rooms with limited window access.
3. Selecting the Right Container and Drainage System
Mint spreads aggressively through underground runners, so containing it in a pot is actually an advantage when growing indoors. A container that is at least 8 to 12 inches wide and 6 to 8 inches deep gives roots enough room to establish without becoming root-bound too quickly.
Drainage holes are non-negotiable — sitting water is one of the fastest ways to kill a mint plant. Always use a pot with at least one drainage hole and place a saucer underneath to catch excess water.
Terracotta pots are a popular choice because they allow excess moisture to evaporate through the walls. Plastic pots retain moisture longer, which can be helpful in drier indoor environments.
4. Soil vs. Water Growing Methods
Mint grows successfully in both soil and water, giving you flexibility depending on your setup. Soil growing is the most traditional method and produces robust, long-lived plants with strong flavor.
Water growing — also called hydroponic or water propagation — is faster to get started and easier to maintain for beginners. If you’re curious about herbs grown in water, mint is one of the best candidates because it roots quickly and thrives in a water medium.
For soil, use a well-draining, peat-free potting mix with good aeration. Avoid heavy garden soil, which compacts in containers and suffocates roots over time.
5. Watering and Moisture Management Strategies
Mint prefers consistently moist soil but not waterlogged conditions. The best approach is to water when the top inch of soil feels dry to the touch.
Overwatering is far more common than underwatering for indoor mint growers. Always empty the saucer after watering to prevent roots from sitting in standing water, which quickly leads to root rot.
During cooler months when growth slows, reduce watering frequency slightly. During active growth periods, you may need to water every two to three days depending on pot size and room temperature.
6. Temperature and Humidity Optimization
Mint grows best in temperatures between 65°F and 75°F (18°C to 24°C), which aligns well with typical indoor home conditions. Avoid placing pots near drafty windows or heating vents, as extreme temperature swings stress the plant.
Humidity levels between 40% and 60% are ideal for indoor mint. In very dry environments, a small humidifier or a pebble tray filled with water placed beneath the pot can raise humidity around the plant effectively.
7. Fertilizing Your Indoor Mint Plants
Mint is not a heavy feeder, but it does benefit from occasional fertilization to maintain vigorous growth. A balanced, water-soluble fertilizer diluted to half strength works well applied once every three to four weeks during the growing season.
Avoid over-fertilizing, as too much nitrogen produces lush but flavorless leaves. Ease off fertilizing entirely in winter when the plant’s growth naturally slows.
8. Propagation Methods and Timeline
Propagating mint is one of the easiest and most satisfying parts of growing it indoors. Propagating mint plants is simple and highly effective using stem cuttings in water or soil, division, or layering — most methods succeed within 14–21 days, with water propagation being the fastest and most beginner-friendly approach.
To propagate in water, snip a four- to six-inch stem just below a leaf node and remove the lower leaves. Place the cutting in a glass of clean water on a bright windowsill and change the water every two days.
For soil propagation, dipping the cut end in a rooting powder before planting significantly improves success rates. Once roots are an inch or two long, transfer the cutting to a pot with moist potting mix.
9. Sourcing Mint: Seeds, Cuttings, and Starter Plants
Mint can be started from seed, but it’s the slowest and least reliable method because many mint varieties don’t grow true from seed. Seeds also take several weeks to germinate and several more to produce a harvestable plant.
Stem cuttings from an existing plant are the fastest and most cost-effective way to get started. Indoor seedlings from reputable nurseries are another excellent option if you want a head start without the propagation wait.
Grow-anything seed pod kits are a convenient modern alternative that simplifies the entire starting process. They’re pre-seeded, pre-portioned, and designed to work with hydroponic systems right out of the box.
10. Pruning and Harvesting Techniques
Regular pruning is the single most important habit for keeping indoor mint productive and bushy. Never remove more than one-third of the plant at a single harvest, as cutting too aggressively weakens the root system.
Pinch off the growing tips just above a set of leaves to encourage branching and denser growth. This prevents the plant from becoming tall and leggy, which reduces both flavor and yield.
Harvest in the morning after any surface moisture has dried for the most flavorful leaves. Frequent, light harvesting signals the plant to keep producing new growth.
11. Year-Round Indoor Mint Growing
One of the biggest advantages of growing mint indoors is the ability to harvest it throughout the entire year. Unlike outdoor mint, which dies back in winter, indoor plants stay active as long as they receive adequate light and warmth.
You may notice slightly slower growth during the shorter days of late autumn and winter. Supplementing with a grow light during these months keeps production consistent and prevents the plant from going dormant.
12. Troubleshooting Powdery Mildew and Root Rot
Powdery mildew is one of the most common problems affecting indoor mint, appearing as a white, dusty coating on the leaf surface. According to Connecticut’s plant pest handbook, symptoms often first appear on the upper surfaces of the leaves, and heavily infected leaves turn brown and shrivel — disease can be minimized by avoiding overcrowded spacing of plants and by carefully picking affected leaves promptly.
Root rot typically results from overwatering or poor drainage, causing roots to turn brown and mushy. If you suspect root rot, remove the plant from its pot, trim away damaged roots, and repot in fresh, well-draining soil.
Improving air circulation around your plants is a simple but highly effective preventive measure for both conditions. A small fan running on low nearby can make a significant difference in a humid indoor environment.
13. Managing Fungus Gnats and Common Pests
Fungus gnats are the most frequently encountered pest for indoor mint growers, especially in overly moist soil. Their larvae feed on roots near the soil surface, weakening young plants over time.
Allowing the top layer of soil to dry out between waterings is the most effective way to break the fungus gnat life cycle. Sticky yellow traps placed near the soil surface catch adult gnats and help monitor infestation levels.
Whiteflies, spider mites, and aphids can also appear on indoor mint, particularly in warm, dry conditions. Regularly inspecting the undersides of leaves helps catch infestations early before they spread.
14. Organic Pest Control Methods
Neem oil diluted in water and sprayed on affected leaves is a reliable organic solution for most soft-bodied pests. Apply it in the evening to avoid any potential interaction with light that could stress the plant.
A simple spray of water mixed with a few drops of dish soap can dislodge aphid colonies effectively. Repeat applications every three to five days until the infestation clears completely.
For more comprehensive strategies, exploring preventing garden pests organically can give you a broader toolkit that applies equally well to indoor herb growing. Consistent monitoring remains your best long-term defense.
15. Addressing Leggy and Stretched Growth
Leggy, stretched mint stems are almost always a sign of insufficient light. The plant reaches toward the nearest light source, producing long internodes and sparse foliage.
Move the plant closer to a window or lower your grow light to within six to eight inches of the canopy. Pinch back the stretched stems immediately to redirect the plant’s energy into bushier, more compact growth.
16. Companion Planting with Other Indoor Herbs
Mint pairs well with other moisture-tolerant herbs like basil and parsley in a shared indoor herb garden setup. However, mint’s aggressive spreading habit means it should always be kept in its own container rather than mixed directly with other herbs.
Placing mint near other herbs in separate pots is a practical arrangement that maximizes your indoor growing space. A kitchen herb garden layout can help you organize multiple herbs efficiently on a single shelf or windowsill.
17. Seasonal Care Adjustments and Winter Dormancy
Outdoor mint naturally goes dormant in winter, but indoor plants can be kept active year-round with proper light and temperature management. If you prefer to let your plant rest, reduce watering and stop fertilizing from late autumn through mid-winter.
A resting plant will look sparse and may lose most of its leaves, but the roots remain alive and will resprout vigorously when conditions improve. Don’t discard a dormant mint plant — it almost always recovers with renewed warmth and light.
18. Cost Comparison: Seeds vs. Cuttings vs. Starter Plants
Seeds are the cheapest starting option but come with the longest wait time and the lowest germination reliability for mint. A packet typically costs under two dollars but may take six to eight weeks to produce a usable plant.
Stem cuttings from a friend’s plant are essentially free and root in as little as one to two weeks. Starter plants from a nursery cost more upfront but give you an immediately harvestable plant, which is the fastest route to your first harvest.
Lettuce Grow’s Dolly system offers a premium hydroponic growing option that includes everything needed for a complete indoor herb setup. It’s a higher investment but delivers consistent results with minimal guesswork.
19. Medicinal Mint: Extraction and Drying Methods
Fresh mint leaves can be dried for teas, tinctures, and aromatherapy by bundling stems and hanging them upside down in a warm, well-ventilated area. Drying typically takes seven to ten days depending on humidity levels in your home.
For a faster method, spread individual leaves on a baking tray and dry them in an oven set to the lowest temperature with the door slightly ajar. Store dried mint in an airtight glass jar away from direct light to preserve potency for up to a year.
To make a simple mint extract, pack fresh leaves into a jar and cover with a neutral spirit like vodka. Steep for four to six weeks in a cool, dark place, then strain and bottle the liquid.
20. Plant Lifespan and Replacement Timing
A well-cared-for indoor mint plant can remain productive for several years, though most growers find that plants start to decline in vigor after two to three years. Woody stems, reduced leaf production, and diminished flavor are all signs that a plant is aging.
Rather than discarding an aging plant, take fresh cuttings from the most vigorous stems and propagate a new generation. This effectively gives you an endless supply of mint without ever needing to purchase a new plant.
21. Growing Mint Without Grow Lights
Mint can absolutely be grown without artificial lighting as long as you have access to a bright, sunny window. A south-facing window that receives four or more hours of direct sun daily is usually sufficient for steady growth.
In lower-light conditions, growth will be slower and stems may become slightly more stretched. Rotating the pot a quarter turn every few days ensures even light exposure on all sides of the plant.
22. Energy Costs and Efficiency Considerations
Modern LED grow lights are highly energy-efficient and cost very little to run continuously. A small, high-quality LED panel typically uses between 10 and 30 watts, adding only a few cents per day to your electricity bill.
Using a timer to automate your light schedule eliminates the need to manually switch lights on and off. A 14-hour-on, 10-hour-off cycle is a reliable standard for most indoor herb setups including mint.
23. Humidity Solutions for Dry Indoor Environments
Central heating in winter dramatically reduces indoor humidity, which can stress mint plants and make them more susceptible to spider mites. A small ultrasonic humidifier near your herb area is the most effective solution for maintaining adequate moisture in the air.
Grouping multiple plants together also naturally raises the local humidity through transpiration. A pebble tray filled with water and placed under the pot is a low-cost passive option that works reasonably well in mildly dry conditions.
24. Hydroponic and Indoor Herb Garden Systems
Hydroponic systems deliver nutrients directly to the roots via water, resulting in faster growth and higher yields compared to traditional soil growing. Mint is one of the herbs that adapts most readily to hydroponic conditions.
AeroGarden systems are among the most popular all-in-one hydroponic options for home herb growers, with built-in lighting and automated nutrient reminders. They require very little technical knowledge and are ideal for anyone new to hydroponics.
Larger systems like the Lettuce Grow Dolly can accommodate multiple herb varieties simultaneously, making them a practical centerpiece for a serious indoor herb garden. These systems also tend to produce very consistent results season after season.
25. Success Rates and Timeline for Mint Propagation
Mint is one of the most reliably propagated herbs available to home growers, with very high success rates across all common methods. As noted by propagation experts, most methods succeed within 14–21 days, making mint an excellent choice for anyone learning propagation for the first time.
Water propagation consistently delivers the fastest visible results, with roots often appearing within five to seven days under good conditions. Soil propagation takes slightly longer but produces plants that transition more smoothly into their final growing containers.
Whether you’re growing a single pot on a kitchen shelf or building out a full indoor herb wall, mint rewards consistency and attention with an abundant, aromatic harvest. Start with one healthy cutting, give it good light and steady moisture, and you’ll find that fresh mint is always just a snip away.