How to Make Emerald Green Arborvitae Grow Faster
If you’ve been searching for answers on how to make emerald green arborvitae grow faster, you’re not alone. These elegant, narrow evergreens are a favorite for privacy hedges and landscape borders, but their naturally modest growth rate can leave gardeners feeling impatient. The good news is that with the right combination of soil preparation, fertilization, watering, and site selection, you can meaningfully accelerate their development without stressing the plants.
Emerald green arborvitae (Thuja occidentalis ‘Smaragd’) typically grows between 3 and 6 inches per year under average conditions. However, optimized care can push that figure noticeably higher. This guide walks you through every key factor — from root establishment to winter protection — so your trees reach their full potential as quickly as possible.
Understanding Emerald Green Arborvitae Growth Rates
Emerald green arborvitae is considered a slow-to-moderate grower compared to other privacy screen options. Under ideal conditions, expect annual vertical gains of roughly 6 to 9 inches once the tree is fully established.
The first one to two years after planting are critical. During this period, the tree prioritizes root development over above-ground growth, which is completely normal and healthy.
Don’t mistake slow early growth for a struggling plant. Patience during the establishment phase pays off with much faster growth in subsequent seasons.
Optimal Sunlight and Site Selection
Emerald green arborvitae thrives in full sun to partial shade, but maximum growth occurs with at least six hours of direct sunlight daily. Shaded locations significantly reduce annual growth and can cause thinning foliage.
Avoid planting in low-lying areas where cold air and frost settle. Elevated or slightly sloped sites with good air movement consistently produce faster, healthier growth.
Also consider wind exposure. Constant strong winds cause moisture stress and can stunt growth, so a location with some natural windbreak nearby is ideal without being fully shaded.
Soil Preparation and pH Management
Arborvitae prefer slightly acidic to neutral soil, with an ideal pH range of 6.0 to 8.0. Testing your soil before planting is one of the most impactful steps you can take.
If your soil is too alkaline, organic options like peat moss or composted pine needles can help. Soil pH tips confirm that you should amend soil gradually and retest after a few weeks to avoid over-correction, then retest after 4–6 weeks to check progress.
Well-draining soil is equally important. Waterlogged roots are one of the most common causes of stunted growth and root rot in arborvitae.
Strategic Fertilization for Accelerated Growth
Fertilizing at the right time with the right product makes a significant difference. Apply a balanced slow-release fertilizer in early spring, just as new growth begins to emerge.
The nutrient ratio you choose matters enormously depending on your goal. Fertilizer ratios explain that to encourage plants to root, you should choose a fertilizer that is higher in phosphorous than in nitrogen or potassium — this is especially useful during the establishment phase.
Once established, switch to a nitrogen-forward fertilizer to push foliage and vertical growth. Avoid fertilizing after midsummer, as late-season feeding stimulates tender new growth that is vulnerable to frost damage.
Watering Schedules and Moisture Optimization
Newly planted arborvitae need consistent moisture — roughly one inch of water per week, either from rainfall or supplemental irrigation. Inconsistent watering is one of the top reasons these trees fail to thrive.
Deep, infrequent watering is far more effective than frequent shallow watering. Deep watering encourages roots to grow downward, improving drought resilience and overall stability.
During hot, dry spells, increase watering frequency. Wilting or browning tips are early warning signs of drought stress that should be addressed immediately.
Mulching Techniques to Support Root Development
Applying a 2 to 4-inch layer of organic mulch around the base of each tree dramatically improves moisture retention and moderates soil temperature. Use wood chips, shredded bark, or pine needles for best results.
Keep mulch at least 2 to 3 inches away from the trunk to prevent moisture buildup that can lead to rot and fungal issues. Extend the mulch ring out to the drip line if possible.
Refreshing your mulch layer each spring is a simple habit that pays compounding dividends in root health and growth speed over time.
Pruning Methods to Encourage Lateral Expansion
Light pruning in early spring helps shape the tree and can redirect energy toward denser, more vigorous growth. Never remove more than one-third of the tree’s foliage in a single season.
For privacy hedges, avoid heavy shearing that removes all green foliage from branch tips. Always leave green foliage on every branch you trim, as arborvitae cannot regenerate from bare brown wood.
Removing dead or crossing interior branches improves air circulation and allows sunlight to penetrate the canopy, which stimulates healthier overall growth. If you’re interested in broader homesteader tree choices, exploring multi-purpose species alongside arborvitae can round out your landscape beautifully.
Root Establishment Timeline and Container Considerations
Container-grown arborvitae transplant more reliably than balled-and-burlapped specimens, but both need careful handling at planting time. Gently loosen circling roots before placing the tree in the hole.
Plant at the same depth the tree was growing in its container — never deeper. Planting too deep is a leading cause of slow establishment and long-term decline.
The root establishment phase typically spans one to two full growing seasons. After that, growth rates accelerate noticeably as the root system expands and begins supporting vigorous top growth.
Seasonal Growth Patterns and Timing
The majority of arborvitae growth occurs in spring and early summer. This is the window when your care efforts — fertilizing, watering, and mulching — have the greatest positive impact.
Growth slows significantly by late summer and nearly stops in fall as the tree prepares for dormancy. Time your most intensive care efforts to align with the spring growth surge for maximum results.
Planting in early fall is also a strong option in many climates, as cooler temperatures reduce transplant stress while still allowing root establishment before the ground freezes.
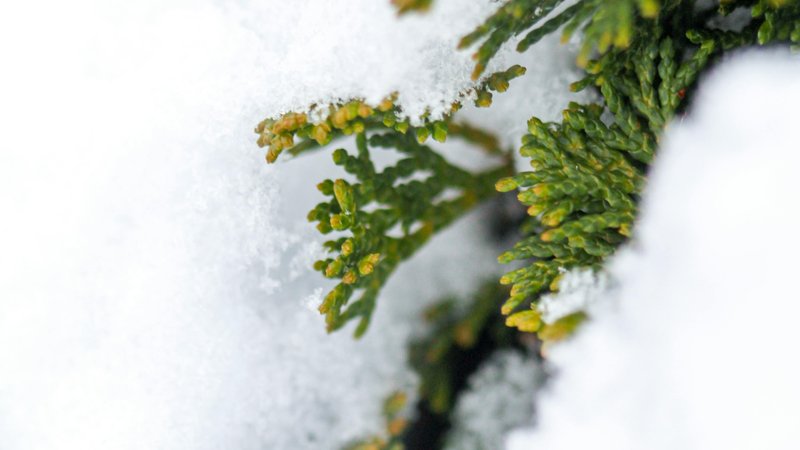
Winter Protection and Stress Mitigation
Winter burn — the browning of foliage caused by desiccating winds and frozen ground — is a serious threat to arborvitae in colder climates. Applying an anti-desiccant spray in late fall can significantly reduce this damage.
Wrapping young trees in burlap during their first few winters provides valuable protection without smothering the foliage. Remove burlap wraps promptly in early spring to prevent moisture buildup and fungal problems.
Ensuring trees are well-watered going into winter is equally important. A deeply hydrated root system tolerates freezing temperatures far better than a dry one.
Pest and Disease Management for Healthy Growth
Spider mites, bagworms, and scale insects are the most common pests affecting arborvitae. Regular inspection — especially on the interior branches — allows you to catch infestations early before they slow growth.
Treat bagworm infestations immediately upon detection, as these pests can defoliate entire sections of a tree within a single season if left unchecked.
Root rot caused by Phytophthora is the most damaging disease threat. Proper drainage and avoiding overwatering are your best defenses. For more strategies on keeping your garden healthy, explore pest prevention tips that apply broadly across landscape plants.
Microclimatic Factors and Air Circulation
Planting arborvitae too close together restricts airflow and creates humid conditions that favor fungal disease. Space trees at least 3 to 4 feet apart even when planting a dense privacy screen.
Reflected heat from walls, fences, or pavement can create localized hot spots that stress nearby trees. Position arborvitae at least 3 feet away from hard surfaces to avoid this issue.
Conversely, a south-facing wall can provide a beneficial microclimate in colder regions, extending the growing season slightly and reducing winter damage for nearby trees.
Nutrient Deficiency Identification and Correction
Yellowing foliage often signals nitrogen deficiency, while purple or reddish tints can indicate phosphorus shortage. Identifying the specific deficiency guides you toward the correct corrective fertilizer.
Iron chlorosis — yellowing between leaf veins — is common in high-pH soils. Lowering soil pH through gradual amendment, as described in the soil section above, typically resolves this issue over time.
A complete soil test, not just a pH test, gives you a full nutrient profile and removes the guesswork from your fertilization strategy entirely.
Comparing Growth Rates with Alternative Evergreens
If growth speed is your top priority, it’s worth understanding where emerald green arborvitae stands relative to alternatives. Green Giant arborvitae, for instance, can grow 3 to 5 feet per year — significantly faster than the Emerald Green variety.
However, the Emerald Green variety offers superior density, a tighter columnar form, and stronger resistance to snow load damage. For small spaces or formal hedges, its compact growth habit is actually an advantage, not a limitation.
Ultimately, the best approach is to maximize what the Emerald Green variety is capable of through consistent, informed care. With the right foundation in place, these trees reward your effort with reliable, steady growth and decades of beauty in the landscape.