When to Transplant Spruce Tree Sprouts From Buckets
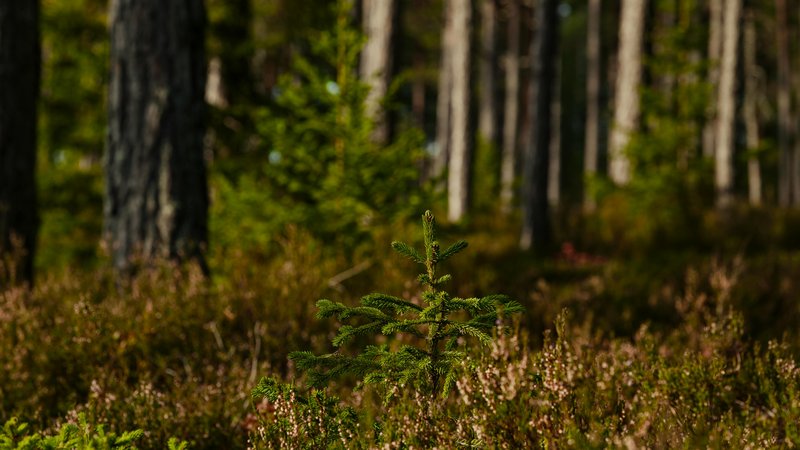
Knowing when to transplant spruce tree sprout seedlings from buckets can mean the difference between a thriving tree and a struggling one. Spruce sprouts are sensitive to timing, and moving them too early or too late in the season puts unnecessary stress on their still-developing root systems. Getting the window right is the single most important decision you will make during the entire growing process.
Whether you are growing Colorado blue spruce, Norway spruce, or white spruce from seed, the principles are largely the same. The sprout needs to be established enough to survive the shock of being moved, but young enough that its roots have not become severely pot-bound inside the container. This guide walks through every key factor so you can transplant with confidence and give your spruce the best possible start.
Optimal Transplanting Windows for Spruce Sprouts
Early spring, just before new growth begins, is the single best time to transplant spruce sprouts from buckets. The soil is warming but the tree has not yet broken dormancy, which means transplant stress is minimized. A secondary window exists in early fall, roughly six to eight weeks before the first hard frost.
Avoid transplanting in midsummer heat at all costs. High temperatures combined with root disturbance create a near-impossible recovery environment for young spruce trees.
Understanding Root Development and Inspection
Before moving any sprout, gently remove it from the bucket and inspect the roots. Healthy roots should be white or light tan, firm, and spreading outward rather than circling the container wall. Circling roots are a sign the sprout has been container-bound too long and will need careful untangling before planting.
A sprout with a well-developed root mass that fills roughly two-thirds of the bucket is ready to move. If roots are sparse and barely visible, give the plant another full growing season in its container.
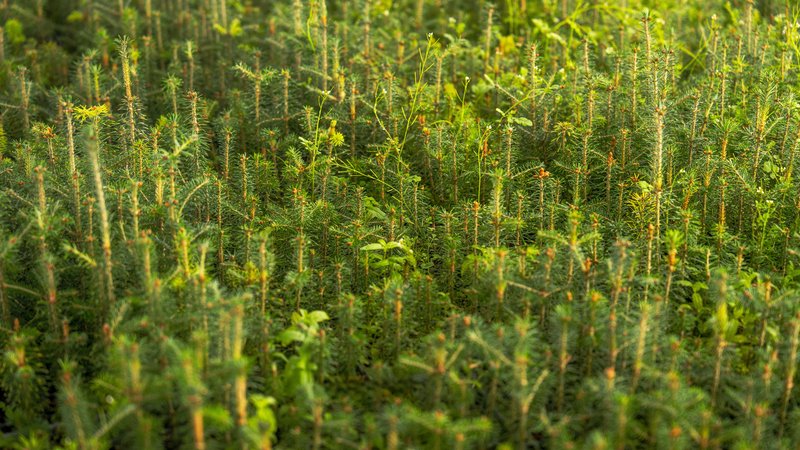
Container Size Progression for Growing Sprouts
Spruce sprouts should not jump straight from a small starter cell to a large outdoor hole. Step up container sizes gradually — from a 4-inch pot to a 1-gallon, then a 3-gallon bucket before final transplanting. This progressive approach encourages healthy root development at each stage.
Each container upgrade should happen only when roots are visibly filling the current pot. Rushing this process leads to waterlogged soil around underdeveloped roots, which causes rot.
Soil Composition and Amendment Requirements
Spruce trees prefer slightly acidic, well-draining soil with a pH between 5.0 and 6.0. When transplanting from a bucket, amend the planting site with aged compost to improve both drainage and nutrient availability. A good compost bin makes it easy to have a steady supply of quality amendment on hand.
Avoid heavy clay soils unless they are thoroughly broken up and amended. Spruce roots need oxygen as much as they need moisture, and compacted soil suffocates them quickly.
Proper Planting Depth and Technique
The root flare — the point where the trunk begins to widen at the base — must sit at or just slightly above the soil surface. Planting too deep is one of the most common and damaging mistakes made during spruce transplanting. It causes bark decay and long-term decline.
Dig the hole two to three times wider than the root ball but no deeper than the root ball itself. Backfill with the original soil mixed with compost, firming it gently to eliminate air pockets.
Hardening Off and Temperature Management
If your spruce sprout has been growing indoors or in a sheltered space, hardening off is essential before transplanting outdoors. Expose the sprout to outdoor conditions gradually over a period of seven to fourteen days, starting with just a few hours of outdoor time and increasing daily exposure.
Pay close attention to nighttime temperatures. Spruce sprouts can handle light frost once hardened, but a sudden late freeze on a freshly transplanted sprout can cause significant setback.
Watering Protocols After Transplanting
Consistent moisture is critical in the weeks immediately following transplanting. Water deeply every two to three days for the first month, then taper off as the tree establishes itself. Deep watering encourages roots to grow downward rather than staying shallow near the surface.
As noted by experienced growers, spruce transplanting succeeds most reliably when you provide enough water until regular fall rains take over. Do not rely solely on rainfall during the establishment phase.
Transplant Shock Recovery Timeline
Expect some degree of transplant shock, especially if the move happened during less-than-ideal conditions. Most healthy spruce sprouts show signs of recovery within four to six weeks of transplanting. New needle growth is the clearest sign that the root system has re-established.
If the sprout looks stressed for longer than eight weeks — with yellowing needles, drooping, or no new growth — check soil moisture levels and root condition immediately. Early intervention saves more trees than waiting and hoping.
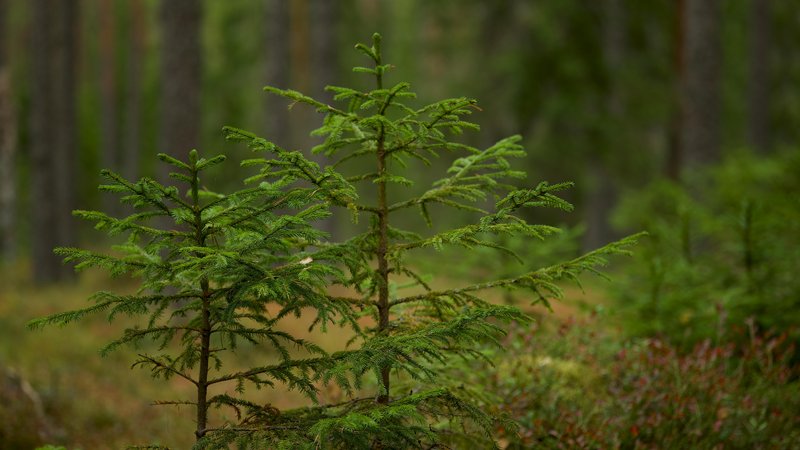
Species-Specific Transplanting Considerations
Different spruce species have slightly different tolerances. Norway spruce is generally the most forgiving of transplant stress, while blue spruce demands more precise timing and soil conditions. White spruce falls somewhere in between, adapting reasonably well across a range of soil types.
Regardless of species, a large, intact root ball is the single most important factor in transplant survival. Never trim roots more than absolutely necessary to fit the planting hole.
Long-Term Care Following Permanent Transplantation
Once your spruce is in its permanent location, mulch around the base with a 2 to 3-inch layer of wood chips or shredded bark. Keep mulch a few inches away from the trunk to prevent moisture buildup against the bark. This layer regulates soil temperature and retains moisture through dry spells.
Spruce trees are slow growers by nature — patience is genuinely required. If you are also interested in other homesteader tree options that establish more quickly, there are excellent companion species worth planting alongside your spruce.
Climate Zone Timing Recommendations
In colder northern zones (USDA zones 3 and 4), the spring transplanting window is narrow — often just three to four weeks between snowmelt and bud break. Act quickly once the ground becomes workable and nighttime temperatures stay consistently above 28°F.
In milder zones (5 through 7), the window is longer and fall transplanting becomes a more viable option. The key in warmer climates is ensuring the sprout has enough time to root before summer heat arrives or before winter dormancy locks in.
Pest and Disease Management During Transplant Stress
Stressed spruce sprouts are more vulnerable to pests like spider mites, adelgids, and cytospora canker fungus. Inspect new transplants weekly for the first two months, checking both the undersides of needles and the bark near the soil line. Early detection is far easier to manage than a full infestation.
Avoid applying synthetic fertilizers immediately after transplanting, as this pushes top growth before the roots are ready to support it. A light application of balanced, slow-release fertilizer in the second season is a far safer approach that supports steady, stress-free growth.
Transplanting a spruce sprout from a bucket is a rewarding project that pays off over decades. The tree you move carefully today will become a significant presence in the landscape for generations. Give it the right timing, the right soil, and consistent water in those first critical weeks, and it will reward your patience many times over.