How to Set Fence Posts in Wet Ground
Setting fence posts in wet ground is one of the most frustrating challenges a homeowner or contractor can face. Saturated soil shifts, heaves, and compresses under pressure, making it nearly impossible to keep posts plumb without the right techniques. Whether you’re dealing with a yard that floods seasonally or a property built on naturally poor-draining soil, understanding how moisture affects your installation is the first step toward a fence that actually lasts.
The good news is that wet ground doesn’t have to mean a failed fence project. With the right materials, backfill strategies, and drainage planning, you can install posts that stay firm through freeze-thaw cycles, heavy rain, and prolonged soil saturation. This guide walks you through every critical decision, from hole depth to long-term maintenance, so your fence stands strong for years to come.
Understanding Wet Ground Challenges for Fence Installation
Wet ground creates a fundamentally unstable base for any vertical structure. Saturated soil loses up to 50% of its load-bearing capacity, meaning posts that feel solid on installation day can lean or sink within a single season.
Water also accelerates wood rot and metal corrosion at the post base, where moisture is most concentrated. Understanding these forces before you dig is essential to choosing the right installation method.
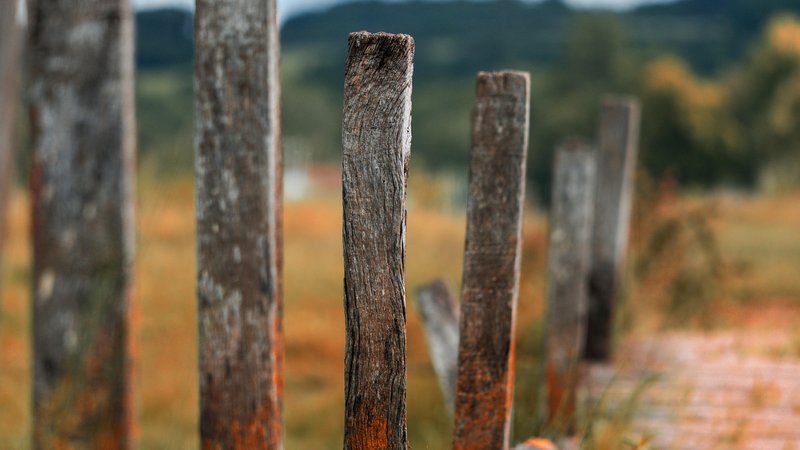
Selecting the Right Post Materials for Saturated Soil
Not all post materials perform equally in wet conditions. Pressure-treated lumber rated for ground contact (UC4B or UC4C) is the minimum standard for any post that will sit in saturated or consistently damp soil.
Steel and aluminum posts with galvanized or powder-coated finishes are excellent alternatives in extremely wet zones. Composite posts, while more expensive, resist rot and moisture absorption almost entirely.
Hole Depth and Frost Line Considerations in Wet Conditions
In wet climates, hole depth becomes even more critical than in dry regions. Posts must extend at least 6 inches below the local frost line to prevent heaving during freeze-thaw cycles that are worsened by saturated ground.
A general rule is to bury one-third of the total post length, but in wet or frost-prone areas, err toward deeper installation. Always check your local building code for the minimum required depth in your specific region.
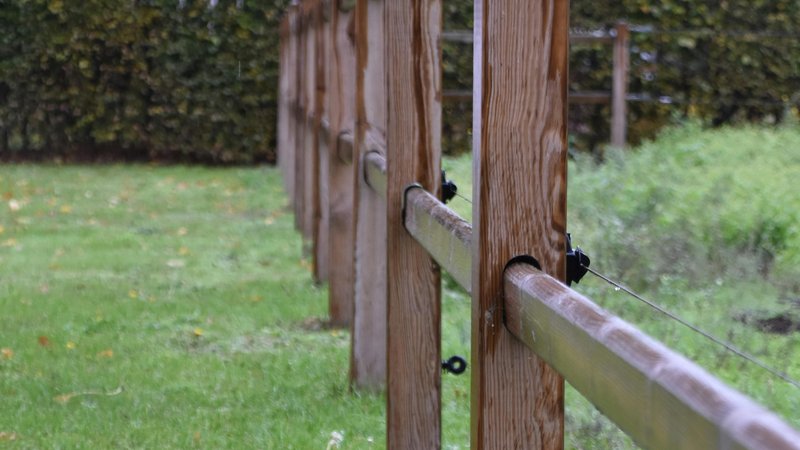
Concrete vs. Gravel vs. Sonotube Backfill Methods
Choosing the right backfill is arguably the single most impactful decision in wet-ground fence installation. Each method has distinct advantages depending on your soil type and drainage conditions.
Gravel backfill is often the best choice in saturated soil because it promotes drainage around the post base, reducing the moisture that causes rot and frost heave. Use clean crushed stone, not pea gravel, for maximum stability.
Concrete provides superior rigidity but can trap water against the post if not sloped or sealed correctly. Always crown the concrete above grade so water sheds away from the post rather than pooling at the base.
Sonotubes (cardboard concrete forms) are ideal for very wet or mucky ground. They allow you to pour a clean, contained concrete column that resists soil movement and keeps the post base isolated from direct soil contact.
Drainage Solutions and Water Management Strategies
Managing water around your fence line is just as important as the installation itself. Installing a perforated drain pipe alongside your fence line can redirect groundwater away from post holes before it saturates the surrounding soil.
French drains, swales, and surface grading are all effective tools for redirecting water flow. Proper stormwater maintenance practices, which include inspection schedules and corrective actions, help ensure drainage systems remain effective at removing excess water over time.
If your property is prone to standing water, consider addressing the broader drainage issue before installing any fence. A fence built on poorly managed land will require constant repair regardless of installation quality.
Post Plumbing and Leveling Techniques for Wet Ground
Keeping posts perfectly plumb in wet ground requires patience and the right bracing strategy. Use two-directional temporary bracing on every post and leave it in place until backfill has fully cured or compacted.
Check plumb with a quality level on two adjacent faces of the post, not just one. Wet soil can shift slightly as you tamp or pour, so recheck alignment before the concrete sets.

Seasonal Timing: Spring vs. Fall Installation in Wet Climates
Timing your installation around soil conditions can dramatically improve your results. Spring installations are common but risky in wet climates because snowmelt and spring rains keep soil saturated for weeks.
Fall installation, after summer has dried the soil, often provides a more stable working window. This timing also aligns with other fall landscaping projects—for example, sod installation guidelines recommend cool-season work when soil temperatures are optimal, and the same principle of working with your soil’s seasonal state applies to fence posts.
Avoid installing posts during or immediately after heavy rainfall events. Even a 48-hour dry window can make a measurable difference in soil workability and post stability.
Frost Heave Mitigation and Prevention Strategies
Frost heave is the primary long-term enemy of fence posts in wet, cold climates. Water-saturated soil expands by roughly 9% when it freezes, and that expansion pushes posts upward with enormous force.
Widening the base of your concrete footing into a bell shape prevents the soil from pushing the post up like a piston. This bell-bottom footing design is one of the most effective frost heave mitigation strategies available.
Gravel backfill around the post also reduces frost heave risk by improving drainage and reducing the amount of water available to freeze in the first place.
Soil Type Specifics: Clay, Peat, and Muck Conditions
Different wet soil types demand different approaches. Clay soil is dense and poorly draining, making it prone to heaving and shrinking. Posts in clay benefit most from gravel collars and bell-bottom footings.
Peat and muck soils are the most challenging because they offer almost no structural support. In these conditions, consider using helical pier anchors or driving posts deeper than standard guidelines suggest, sometimes as much as half the total post length.
Sandy wet soils drain better but provide less lateral resistance. In sandy saturated ground, wider-diameter posts or concrete footings with a larger base diameter improve stability significantly.
Post Rot Prevention and Wood Treatment Options
Even pressure-treated posts benefit from additional protection at the ground-contact zone. Applying a copper naphthenate wood preservative to cut ends and any drilled holes dramatically extends post life in wet soil.
Post caps and base trim pieces that keep the wood grain sealed from standing water are also worth the small additional investment. The ground-line zone, where the post transitions from below grade to above, is where rot almost always begins.
Tools and Equipment: Rental vs. Purchase Decisions
Digging post holes in wet, dense, or rocky soil almost always requires powered equipment. A gas-powered or hydraulic auger makes the job dramatically faster and more precise than manual diggers in saturated ground.
Renting a one- or two-man auger is cost-effective for projects under 20 posts. For larger fencing projects or properties with recurring wet-ground challenges, purchasing a tow-behind auger attachment may be the smarter long-term investment.
A water pump or hand bailing bucket is also essential equipment when holes fill with groundwater before you can set the post. Never pour concrete into a water-filled hole without first removing the water.
Long-Term Maintenance and Inspection Schedules
A well-installed fence in wet ground still requires regular inspection to catch problems early. Inspect every post at ground level at least once per year, probing for soft wood, rust, or lateral movement.
Pay particular attention after the first freeze-thaw cycle following installation, as this is when frost heave damage most commonly appears. Early correction of a leaning post is far less expensive than replacing a failed section of fence. This ties directly into the kind of structured approach that stormwater maintenance professionals use—scheduled inspections and corrective actions keep systems performing over the long haul.
If you’re managing a larger homestead property, integrating fence inspections into a broader seasonal maintenance checklist keeps the task manageable. You can find helpful context for managing land and outdoor structures in resources like trees for homesteaders, where long-term land management principles apply equally to fencing and planting decisions.
Regional Building Codes for Wet Ground Installation
Building codes for fence post installation vary significantly by region, and wet-ground areas often have stricter requirements. Some municipalities require permits for fences over 6 feet tall or for any installation within a designated floodplain.
Always check with your local building department before beginning any fence project in a flood-prone or high-water-table area. Code violations in these zones can result in mandatory removal at your own expense.
Cost Analysis: Comparing Installation Methods
Installation costs in wet ground are consistently higher than in standard soil conditions. Expect to pay 20–40% more per post when specialized backfill, drainage work, or deeper holes are required.
Gravel backfill is typically the most affordable upgrade, while sonotube concrete systems and helical pier anchors represent the higher end of the cost spectrum. The upfront investment in the right method almost always saves money compared to the cost of reinstalling failed posts.
Get multiple quotes from contractors who specifically mention wet-ground or high-water-table experience. General fencing contractors without this expertise may underbid the job and cut corners that lead to early failure.
Metal Post Anchoring Systems and Alternative Solutions
Metal post anchoring systems offer a compelling alternative to traditional in-ground installation in very wet or unstable soil. Drive anchors and helical screw anchors can be installed without digging, eliminating the water-filled hole problem entirely.
Surface-mount post bases bolted to a concrete pad are another option where soil conditions make in-ground installation impractical. These systems keep the wood post entirely above grade, virtually eliminating ground-contact rot.
Helical piers, commonly used in foundation repair, are increasingly popular for fence applications in muck, peat, and high-water-table environments. They provide exceptional holding power in soils where traditional concrete footings simply cannot perform reliably. For homesteaders managing complex outdoor projects across varied terrain, climate adaptation strategies offer broader context for making land-use decisions that account for shifting weather and soil conditions over time.
Whatever method you choose, the key principle remains the same: work with your soil’s moisture conditions rather than against them. A thoughtful installation built around your specific ground conditions will always outlast a rushed job done without regard for water management, drainage, and material selection.